Have you ever encountered spots you can’t reach when cleaning your house? Pretty sure we all have once been in such a situation before and closed an eye to it but deep down, we all know how dirty it is. To solve this issue, we will provide 11 tips and hacks on how to clean such hard to reach spots to keep everyone’s environment clean and comfortable to live in! Shall we get down to business?
1. Ceilings fans and light fixtures
Feeling frustrated looking up at the pile of dust up the ceiling fans and light fixture? Well, our solution to yhis does not require you to get on someone’s shoulder so you can reach the fan or light. All you need is a disposable duster that comes with a handle that can be extended and it shall do the trick. Since it is extendable, you would have access to hard to reach places and sweep away all the dust. This is possible because disposable dusters are made up of properties that cause dust to stick, rather than scattering them as a feather duster would. Alternatively, if you do not own a disposable duster, you can always opt for a microfiber cloth to attach onto a broom handle using a rubber band. Also, as a word of caution, if a ladder is necessary, do make sure you have someone to secure the ladder and be there for you if you happen to fall.
2. Ceiling and crown mouldings
Next, a common spot to trap dust and spider webs would be the ceilings and crown mouldings. To reach such spots at height, use a duster with a long handle and use a dry mop to clear away the dirt. Since bits of such nasty debris may fall onto the floor and become imperceptible to our naked eye, always remember to do this step before you vacuum so the vacuum can suck the debris up.

3. Cabinet tops and furniture at a height
On to the next spot, we have cabinet tops and furniture which are at a height and hard to reach. To clean such areas, it is important to get a disposable duster with a handle that extends and specifically with a flexible head that allows you to manoeuvre your angle and reach various spots. Furthermore, to effectively clean dust and grease off the kitchen cabinets, we recommend the use of a sturdy stool to step on and wipe using a cloth dipped in warm water mixed with one tsp household ammonia and one tsp dishwashing liquid. Thereafter, rinse the cloth and wipe again with just plain water. Lastly, dry it clean with a cloth.
4. Window blinds
Moving on, when you use a static duster to clean the window blinds, do make sure that you close them to clean one side at a time. You can also clean both sides together. Simply fasten microfiber cloth around the ends of a pair of tongs, and slide the cloth end along the slats to sweep away the dust particles. To end off, throw the cloth into the washing machine and you are done!
5. Window and sliding door
Doors are particularly good at trapping dust with its edges, especially those sliding kinds and this includes windows as well. With the tight spaces, it can be quite a task to clean them effectively. Therefore, what we suggest is to remove the screens to have a proper cleaning session. Start off by vacuuming the loose debris, and you can do so by utilizing the crevice tool on your vacuum.
Next, mix together a solution containing two cups of warm water, one teaspoon of dishwashing liquid and one teaspoon of household ammonia. Using this solution and a brush, scrub out the remaining stubborn grime and dirt, followed by a splash of plain water to rinse it off. We also like to recommend the use of vinegar and extra care to remove the soap scum.
Last but not least, we have a final good tip to share and that is, using a pressure nozzle or pressure washer for your hose to wash the tracks with pressurized water.
6. Behind the toilet
Another spot hard to reach for cleaning would be the floor and wall behind the toilet since cleaning equipment would not fit into the tiny space. Hence, knee pads and rubber gloves would come handy in such situations. The procedure should be something like this: begin by using a stiff brush to get rid of loose dust and a crevice tool for the remaining debris, followed by a soft sponge dipped in warm water and disinfectant solution to wipe down the area. As the last two steps, rinse off with water and dry using a cloth.

7. Refrigerator coils
Accumulated dust on refrigerator coils can bring down the efficiency of your refrigerator’s performance and raise your electricity bills. Thus, it would be beneficial for you to be familiar with the tips on cleaning the coils. On this topic, we would like to advise you to roll out the coils located at the back of the appliance and use a vacuum brush to suck away the dust.
On the other hand, for those with coils located at the bottom, unsnap the ventilated frill and use a long stiff brush and crevice tool to sweep away the dust and debris. At the same time, you can also give the condenser fan a proper swipe down so that the blades can turn more easily without the dust.
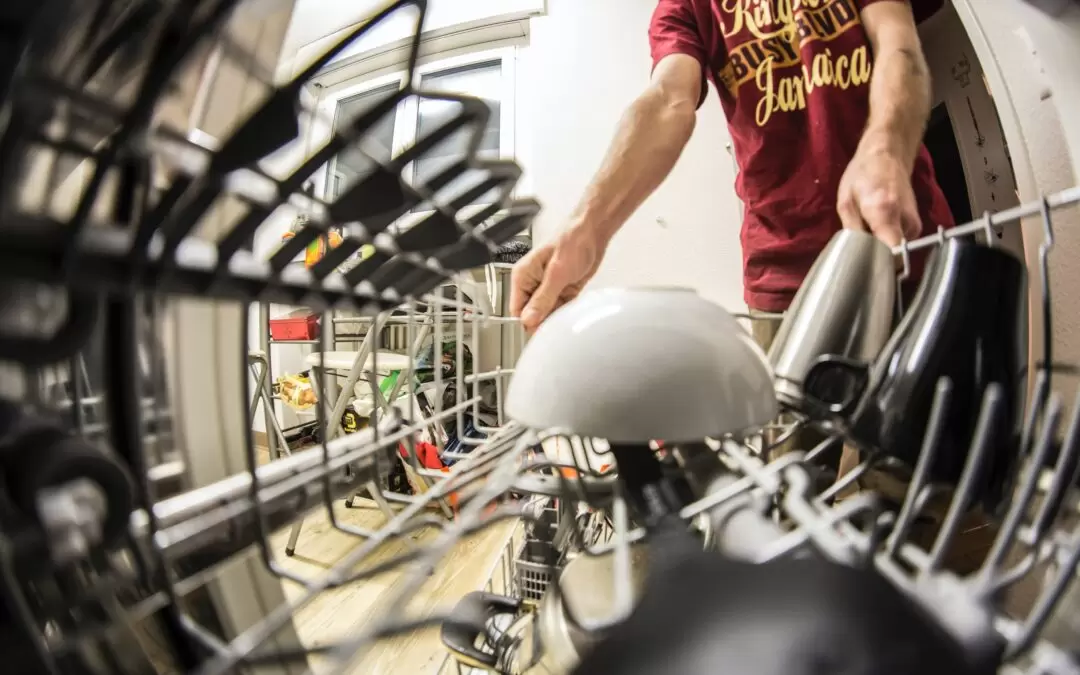
8. Dishwasher filter
Dishwasher filters help to capture food particles and cleaning it regularly is important to make sure our dishes are clean and that there is no bad odour. To access it and clean it with ease, remove all the bowls and plates off the dishwasher, as well as the bottom rack. Next, use a damp cloth to clean the area, while making sure that the area under the cap is clean if the filters cannot be removed. Meanwhile, for the removable filters, unscrew it and soak it in soap water and give it a wipe to make sure the debris is all removed before putting it back in place. A hack for deodorizing: we highly commend the use of distilled white vinegar to be placed in the dishwasher and left overnight.
9. Garbage disposal
Run a stream of cold water down for at least 10 seconds after turning off the disposal to flush the contents away. To eliminate unpleasant odour, use citrus peels to grind while running cold water. Alternatively, you can also sprinkle baking soda over some ice cubes and grind them with cold water. Of course, you should make sure not to place your hands down the disposal when the electricity is still turned on.
10. Heating and air register covers
If possible, you should remove the vent and use water to spray away the dirt. Otherwise, rinse it with water or soak it in soap water to eliminate grease accumulated from cooking. To save the hassle of such maintenance, it would be best to just clean the vents regularly at least once a month with the help of a brush.
11. Computer keyboards
When it comes to electronics such as the laptop and cell phone which we have frequent contact with almost every day, it is important to give them a wipe down regularly for hygiene purposes. For keyboards, we recommend using compressed air to blow away the dust particles while tilting the keyboard. This is followed by the use of a cotton bud swapped in rubbing alcohol to clean the area between keys as it helps to disinfect germs.
Conclusion
All in all, there are many cleaning spots that are hard to reach so this list is not exhaustive, we hope that you would be able to do fine with what we have provided at least. All the best!